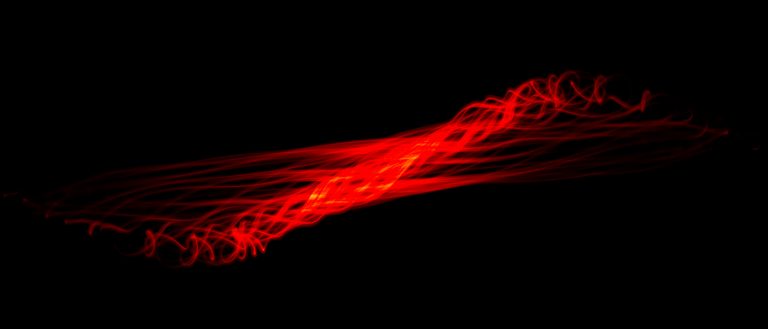
A few days after the first, I had a second go at producing Physiograms. I used a really heavy Maglite torch (with a replacement LED light ‘bulb’) this time which was also heavily taped up to cover all but a small aperture in the front lens.
For first few of these images had a slightly off-centre aperture on the front of the torch. This allowed for some reflected light to leak out at an angle – as well as the direct light coming straight out. The random highlights in these images are the result of that light leak – and are not added in post production.
What is a Physiogram?
Physiography is actually a field of geography that studies the processes and patterns found in the natural environment. The name Physiogram is apt because it is a photographic study of the patterns and movement of a suspended object. Imagine an object tethered to a string and suspended from a fixed point. If you push it, the object will swing around in a neat circular motion at first, completing each rotation in roughly the same place each time. However, as the object loses velocity, it will complete an orbit that is increasingly smaller than the last one.
The sequence of rotations that the object takes while it swings around isn’t visible to the naked eye. Making a light source the object, and using long exposure photography we can view the entire path of the object in a single image.
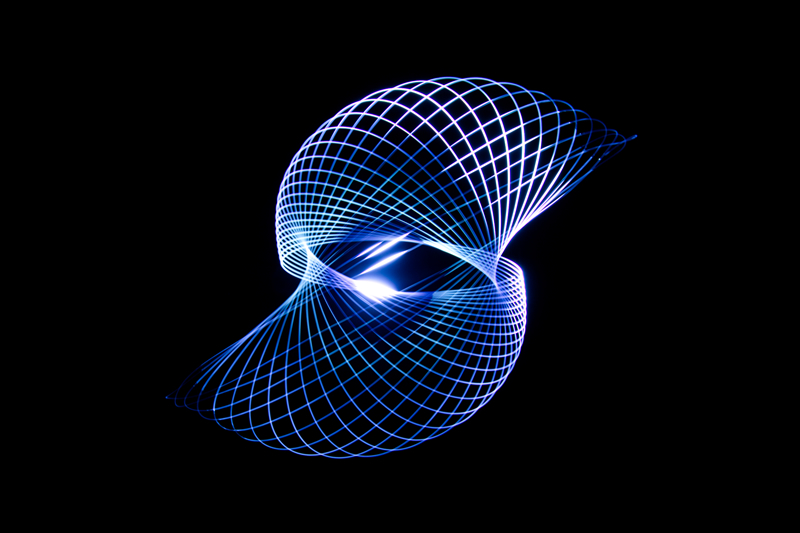
Very clean movement
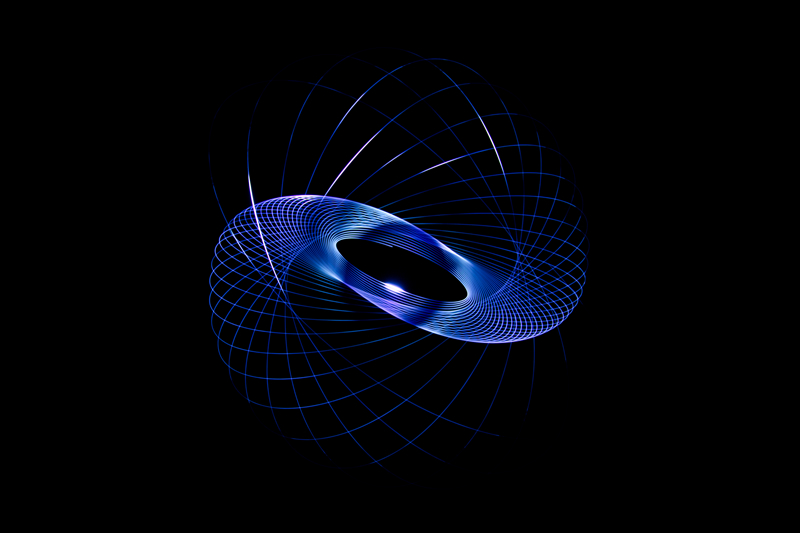
Intricate details
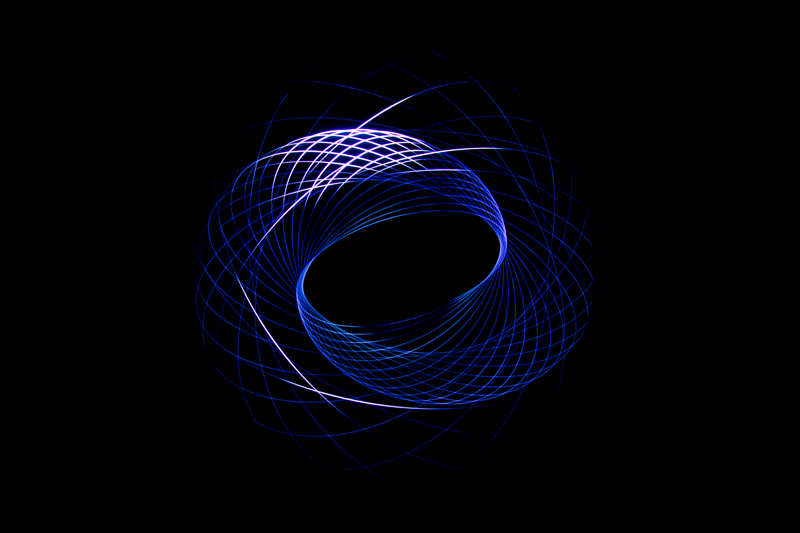
Amazing, natural highlights
With this second group of images – I re-covered the front lens of the Maglite ensuring it was exactly centered, lengthened the string it was suspended by and then processed them all in monochrome for a little added drama.
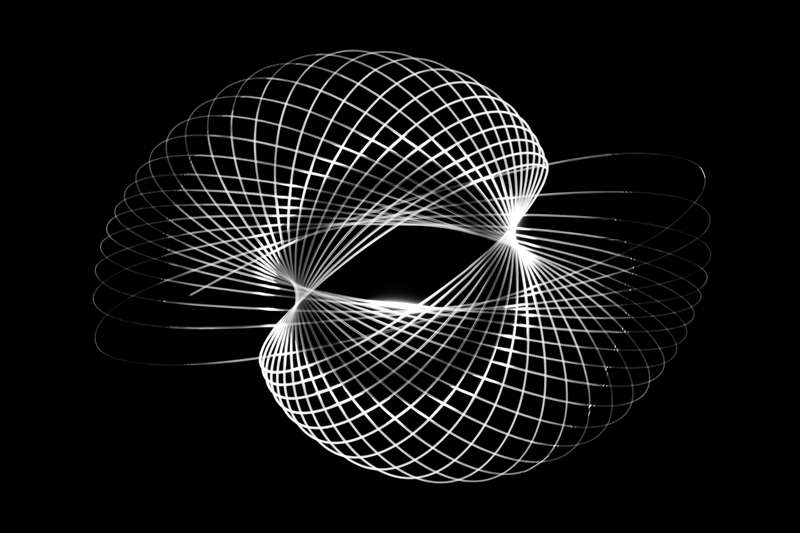
Great 3D effect
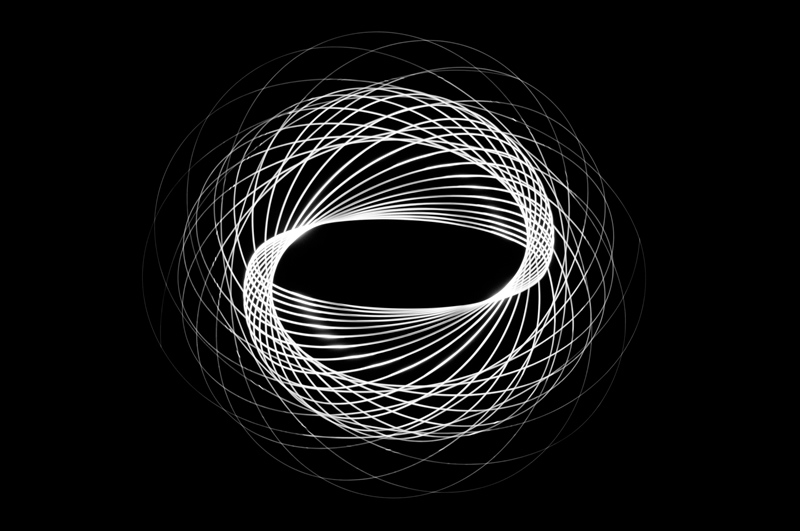
Drawing in
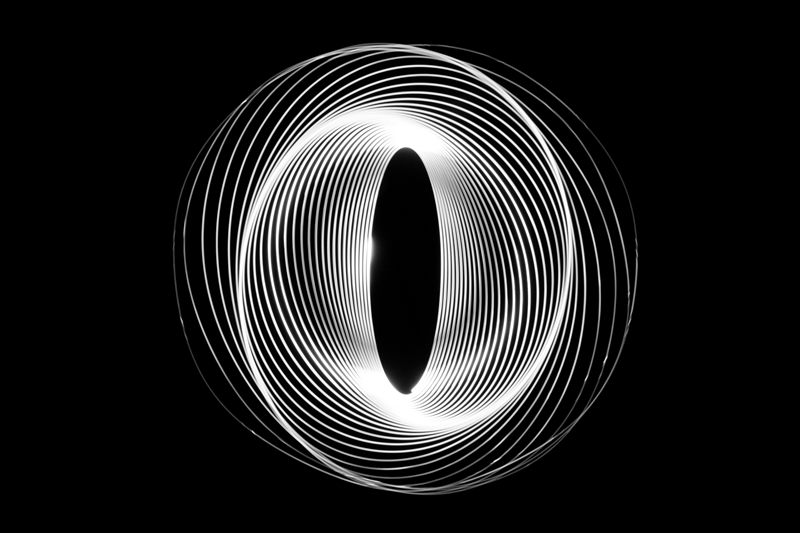
All seeing eye?
A number of these images will also available for Wall Art prints and commercial licensing – Get in touch if you’d like further details.
As with the previous Physiograms post – all of the images from this project are available to view in the Featured Projects Gallery.

